

Prefer to read instead?
Before you begin..
Read the instructions thoroughly.
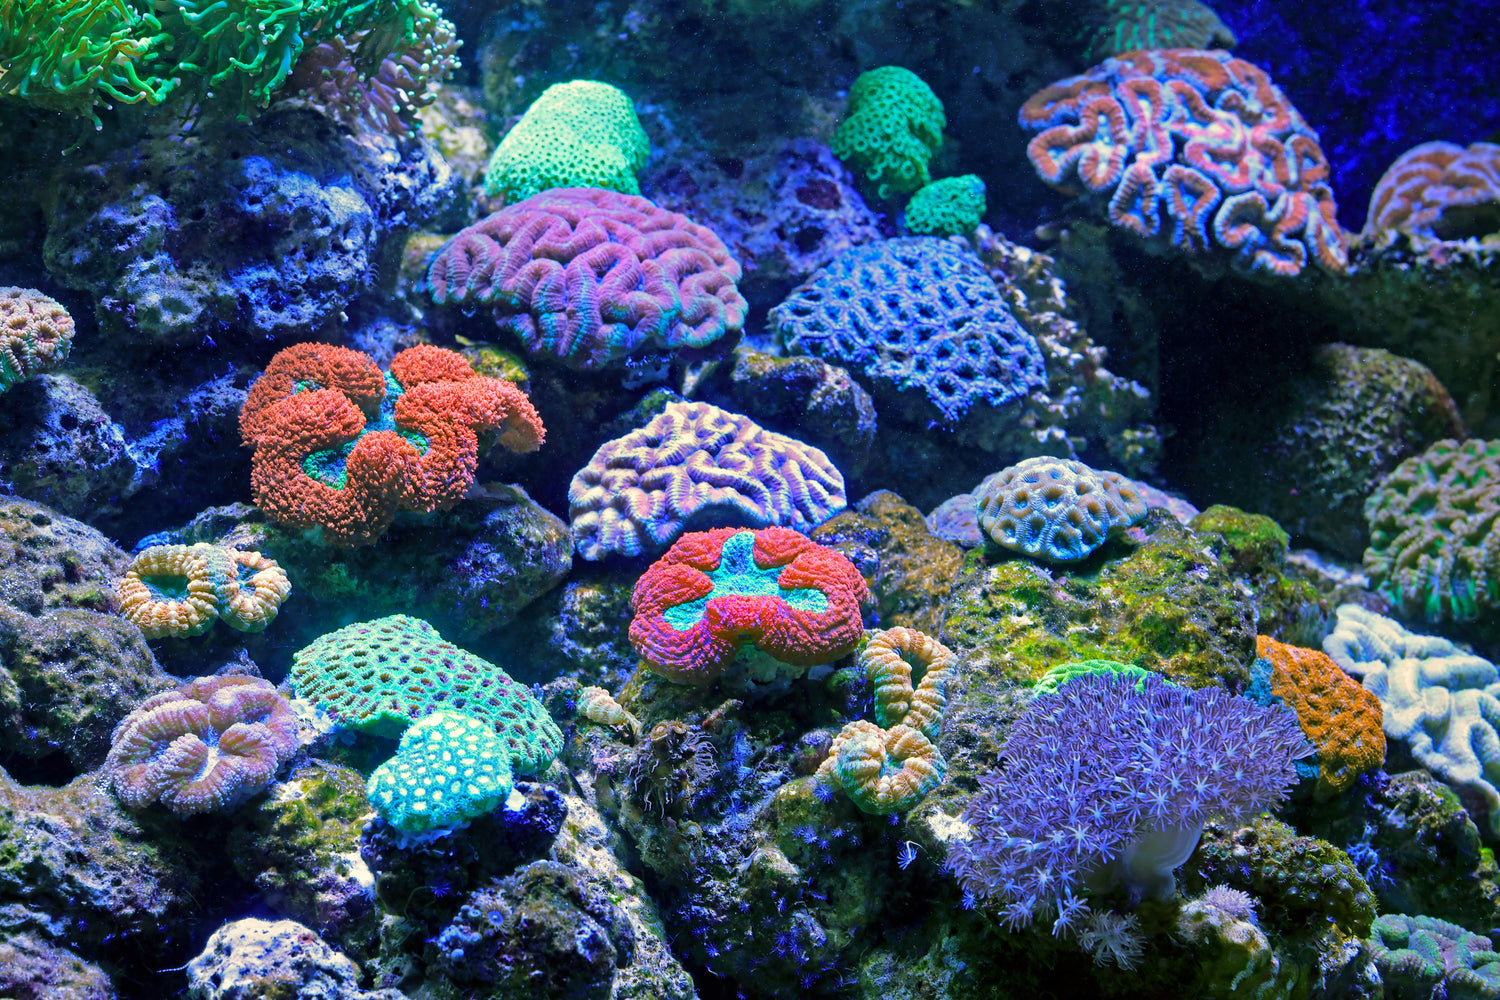
We recommend to sample your aquarium water before maintenance, cleaning, water change, or feeding has been done as this can impact the amount and type of DNA captured.

Keep it clean
1. Thoroughly wash and dry your hands.
Put on the clean pair of gloves provided in the kit.
ready to start
Collecting DNA
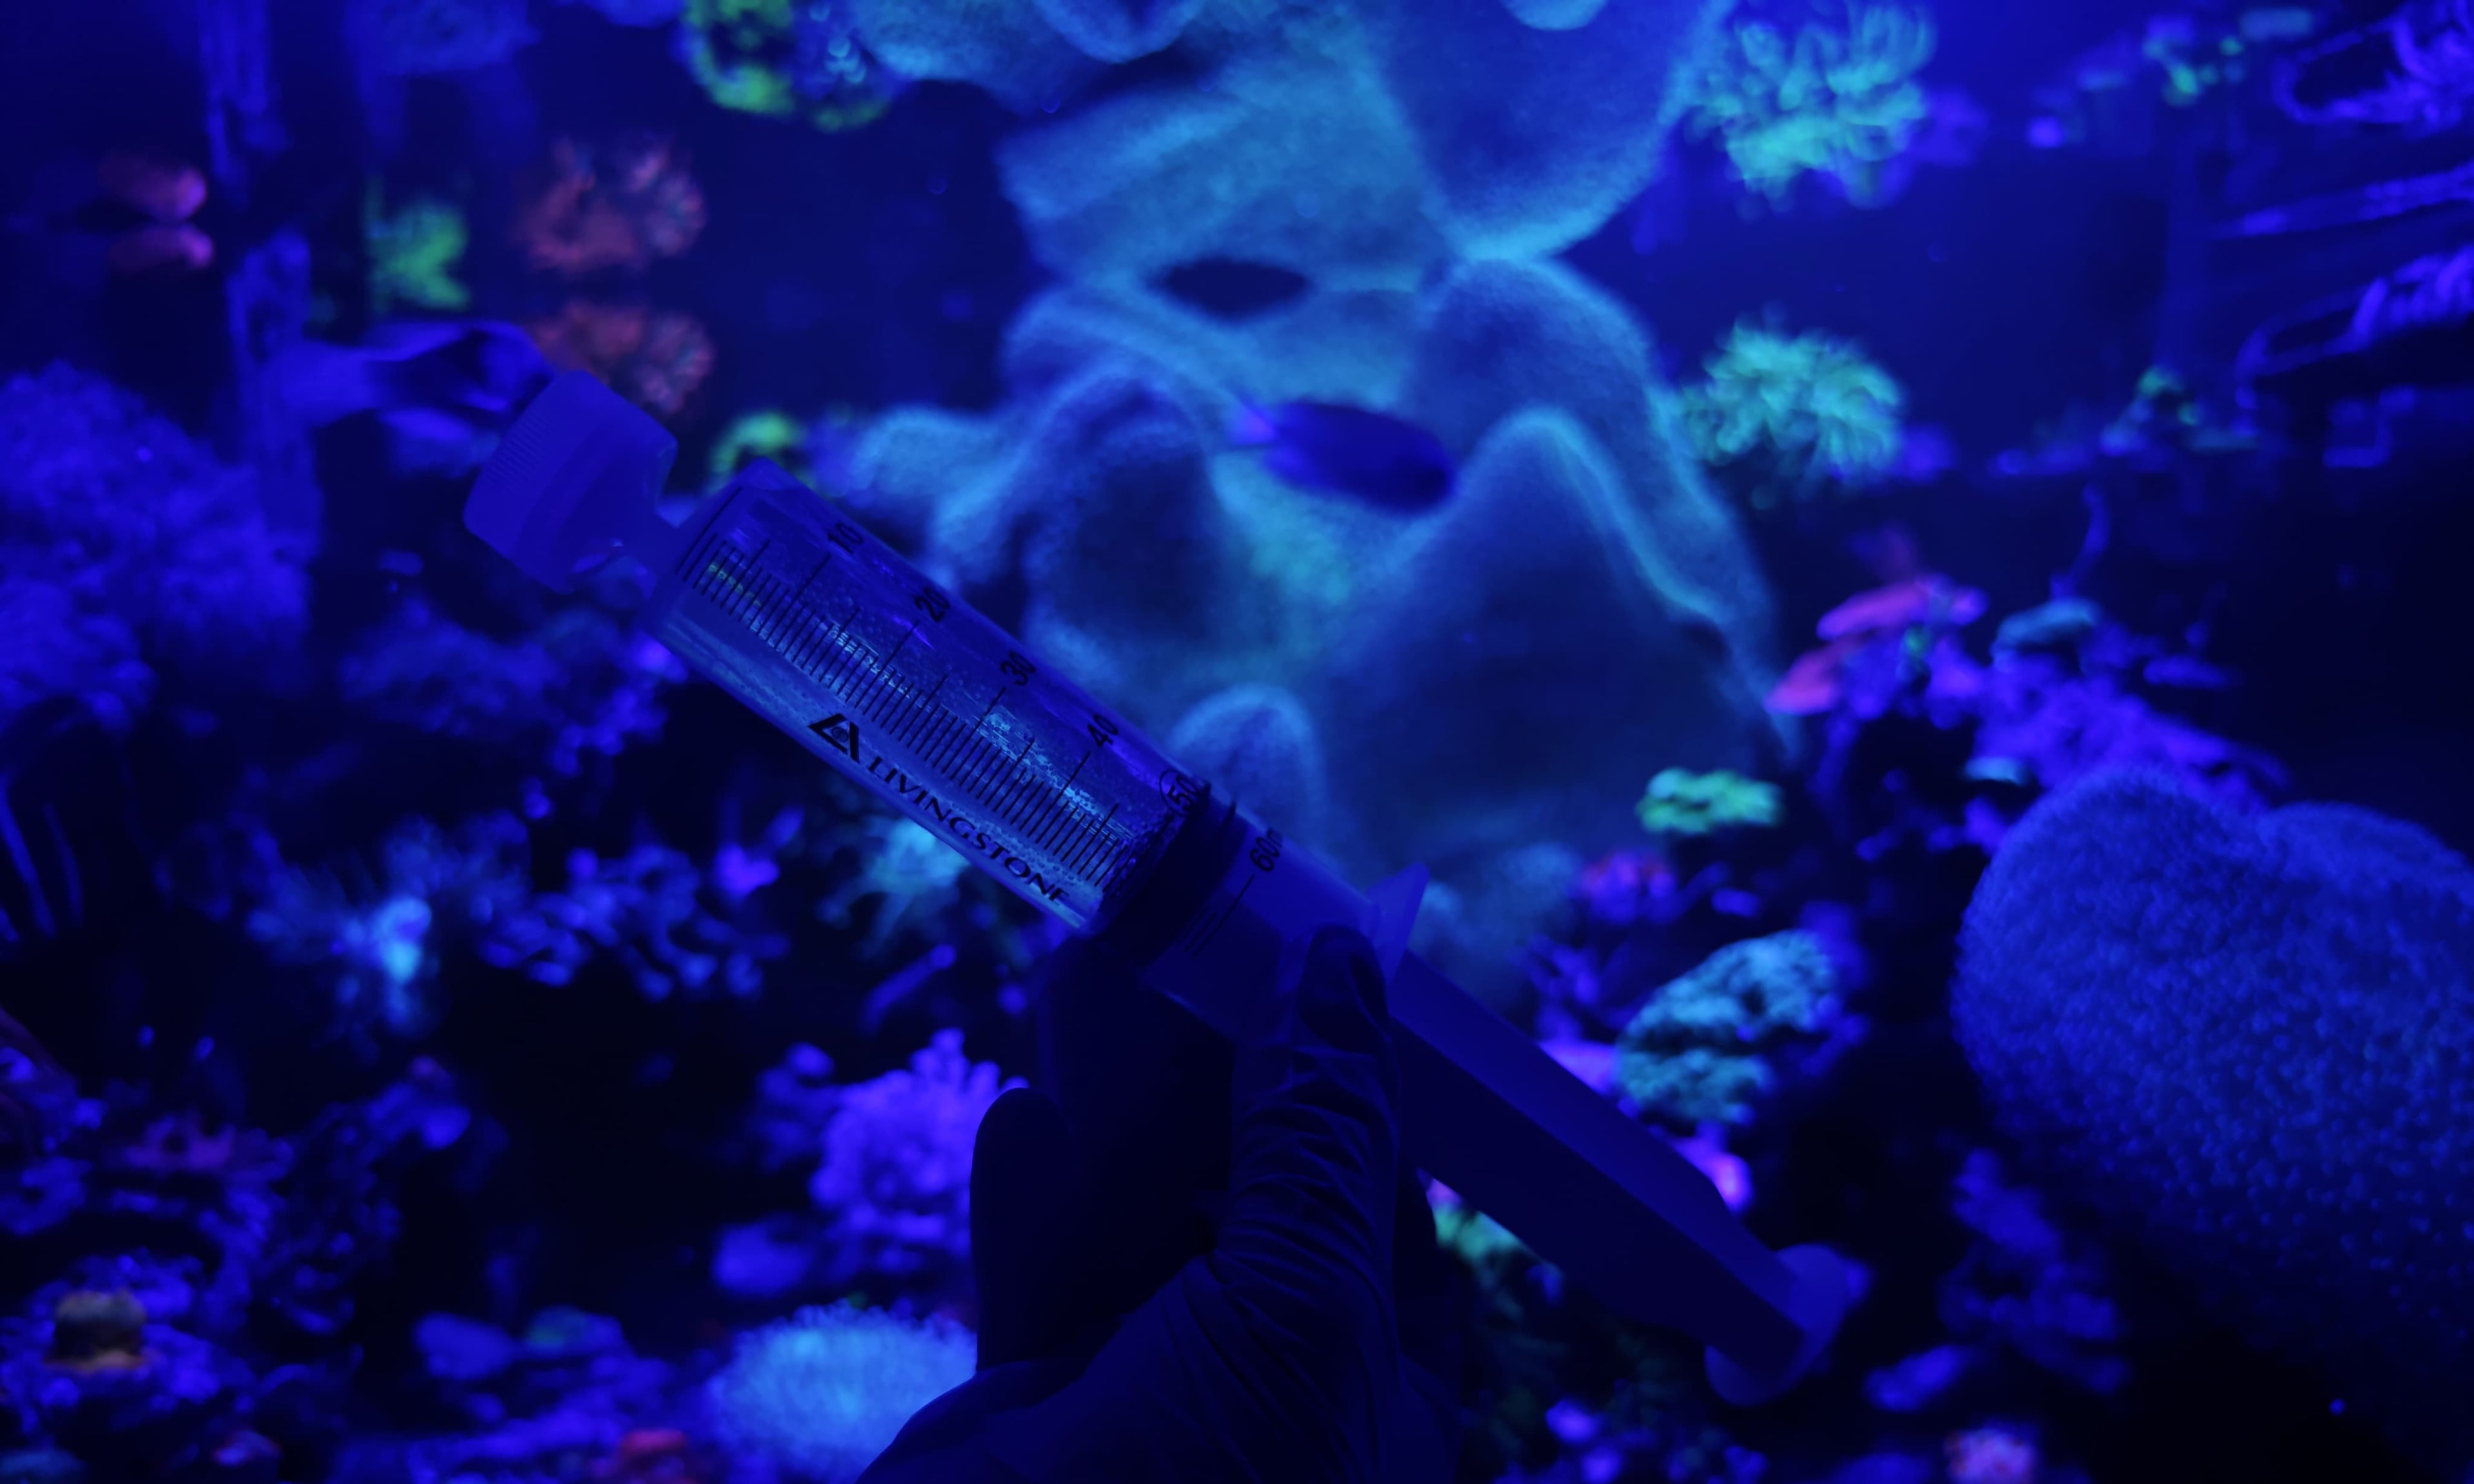
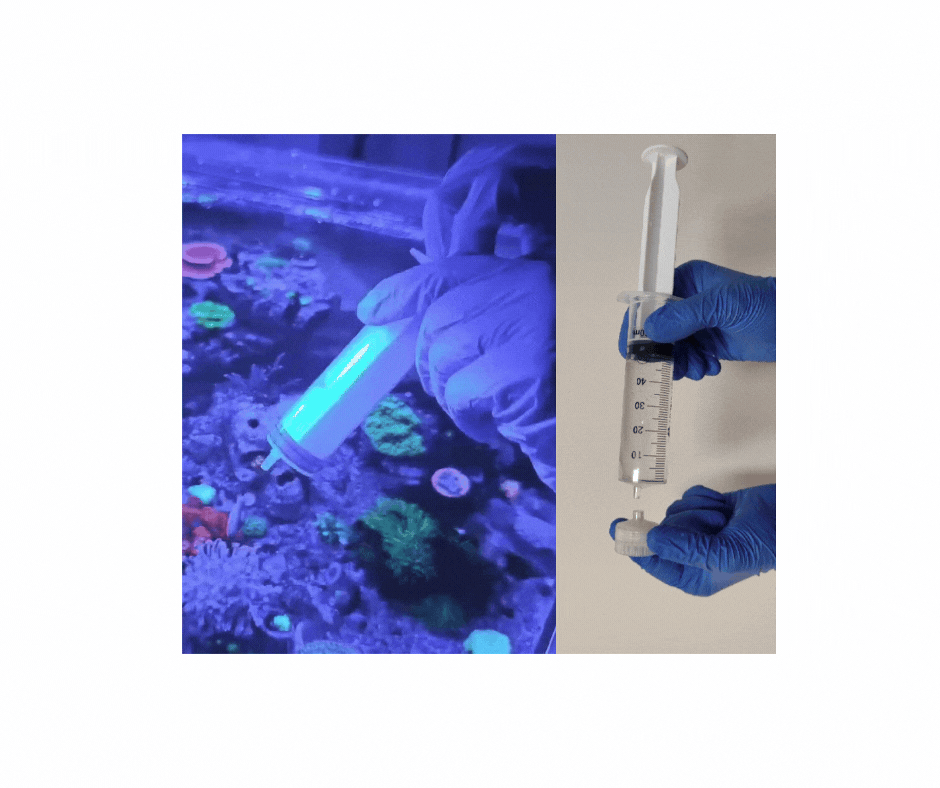
2. Remove the syringe from the sterile packaging while avoiding touching the inlet of the syringe to prevent contamination.
3. Insert the tip of the syringe in the aquarium water and draw 50 ml.
4. Take the DNA filter out of the bag, holding it from the sides only. Insert the syringe to the filter with a twist motion until its firmly locked.
5. Press the syringe plunger to expel water through the other side of the filter. Go slow and steady. This might take a few minutes. When close to the end, keep an eye on the water level and avoid passing air through the filter. Air bubbles in the filter will make it harder to push the water through.
6. After passing 50 ml of water, twist off the syringe from the filter. Do not withdraw the syringe while connected to the filter as it can remove the captured material.
repeat the collection
Increase the amount of DNA captured
For best results, we recommend passing 200 ml of aquarium water through the filter.
This will increase the DNA capture and increase the sensitivity of the test.
7. Repeat steps 3-6 three more times for a total of 4 syringes of 50m each. 4 x 50 ml=200ml.
Depending on the clarity of your aquarium's water, its normal for the filter to get clogged with microorganisms and particles. It might get harder to pass water through in the subsequent runs. That's ok, take your time and go slowly to avoid over pressure in the filter
Record on your sheet the total aquarium water volume collected.
*This is the longest part of the sampling.
almost done!
Remove excess aquarium water
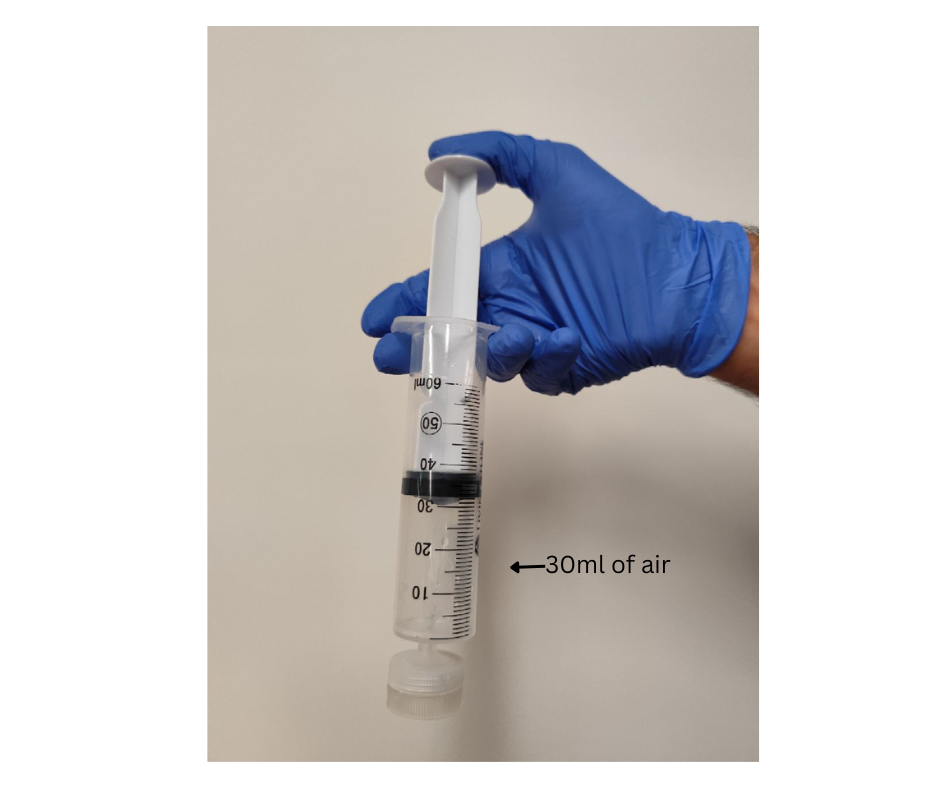
8. Empty the large syringe of remaining aquarium water (a few remaining drops
is fine), draw in 20-30 ml of air and connect it to the filter. While holding the filter vertically pointing down, press the syringe plunger to expel excess water from the filter. This step will require some pressure. Push the plunger all the way until no more drops come out of the bottom.
Do not use excessive force to avoid breaking the filter membrane and losing DNA material.
* After this step, the large syringe is no longer needed. It is still clean, keep it. It might be useful to have in your aquarium tool kit.
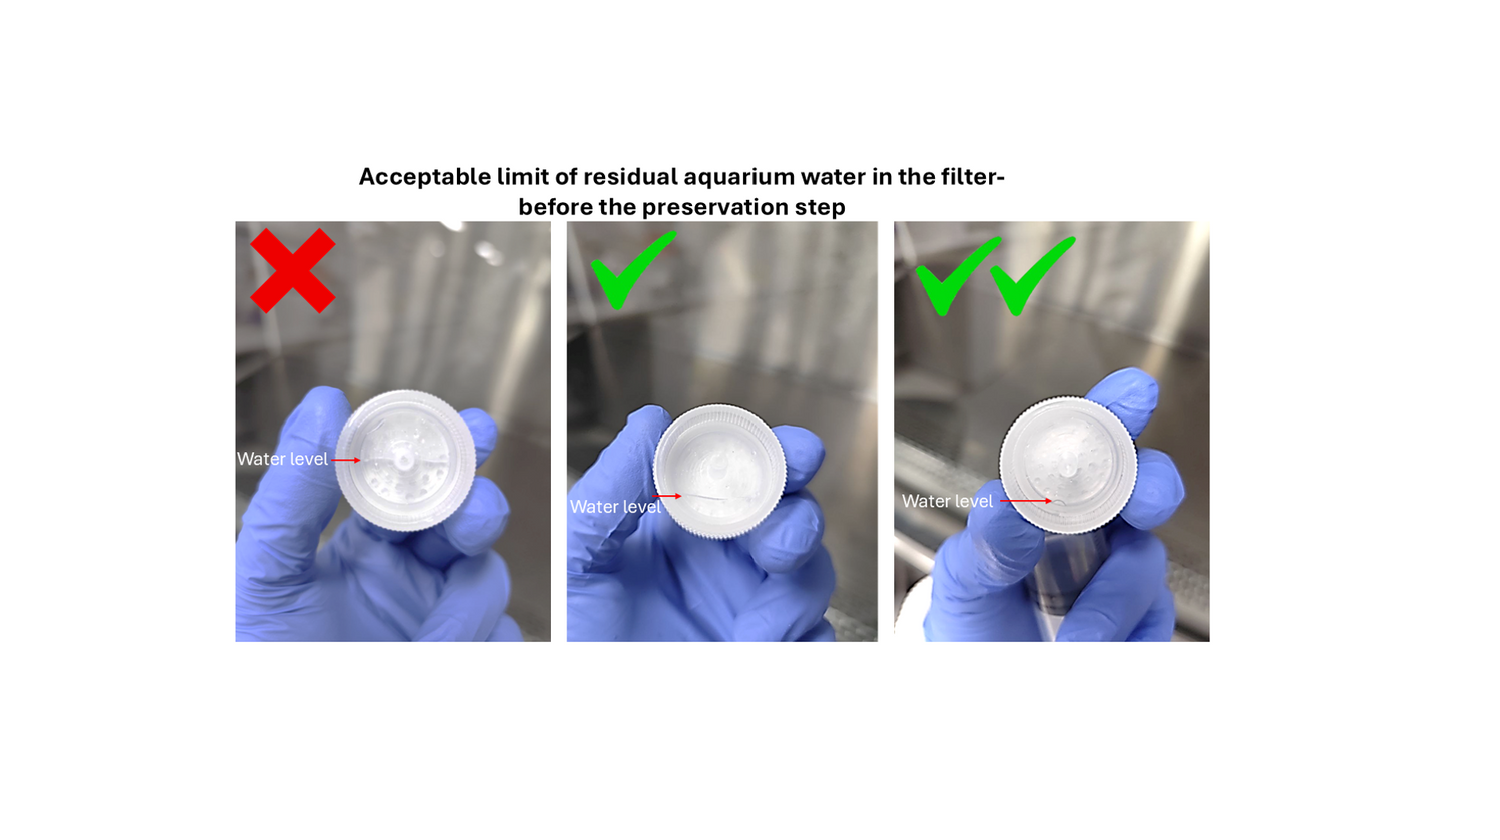
Check water level in filter
Look at the underside of the filter and compare it to the photo. If there is too much water repeat step 8 to get an acceptable water level.
Prepare for stable shipping
Preserve your sample
Caution! The preservative solution is not safe for aquatic organisms. Do not add it in to your aquarium intentionally or accidentally. Do not touch your aquarium or the aquarium equipment after adding the preservative. It is safe once you seal it in the bag and dispose of the gloves.
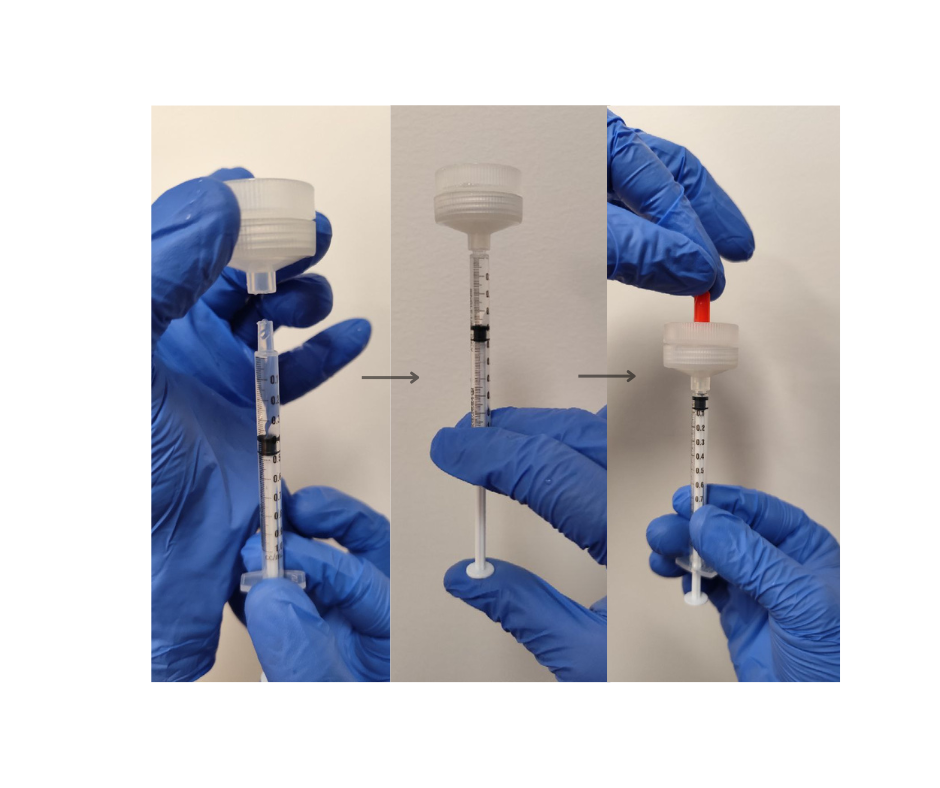
9. Remove the large syringe from the filter. Take out the small preservative syringe from the bag. Twist off the orange cap and place it on a clean surface (you will use the cap soon).
10. Insert the preservative syringe into the filter, hold it vertically with the filter facing up. Very slowly press the plunger to fill up the filter and wait 5 seconds. Leave the syringe attached firmly to the filter.
11. Firmly attach the orange cap to close the other side of the filter. Ensure the filter is sealed properly by holding the syringe and the orange cap with two hands and pushing both into the filter.
Sampling done!
Ready to ship
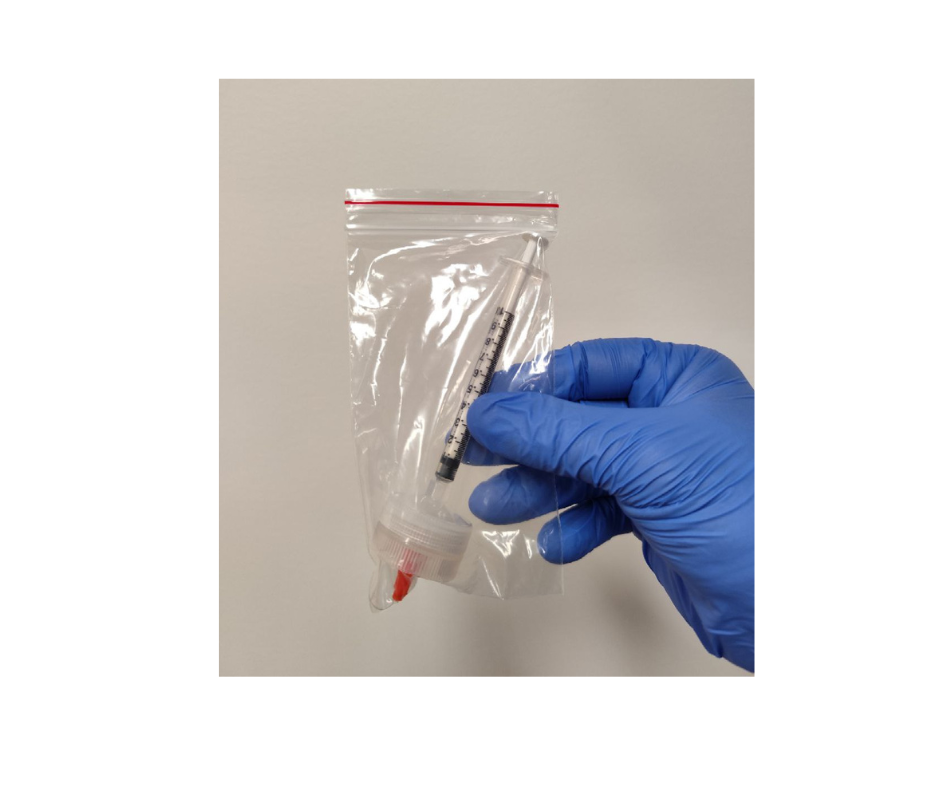
12. Place the filter with the attached syringe and cap in the bag and seal. Place the bag in the kit bag for safe transit. Then place it in the express parcel bag provided.
13. IMPORTANT ! Before you return the sample to us, register your sample using the sample ID provided in the kit. Login to your account at reeflabs.com.au and fill out the submission form. This enables us to link the sample to the right customer and to send you the correct report.
14. Mail the sample within 24 hours of sample collection. You can store the sample in the fridge for a couple of days until you are ready to ship.